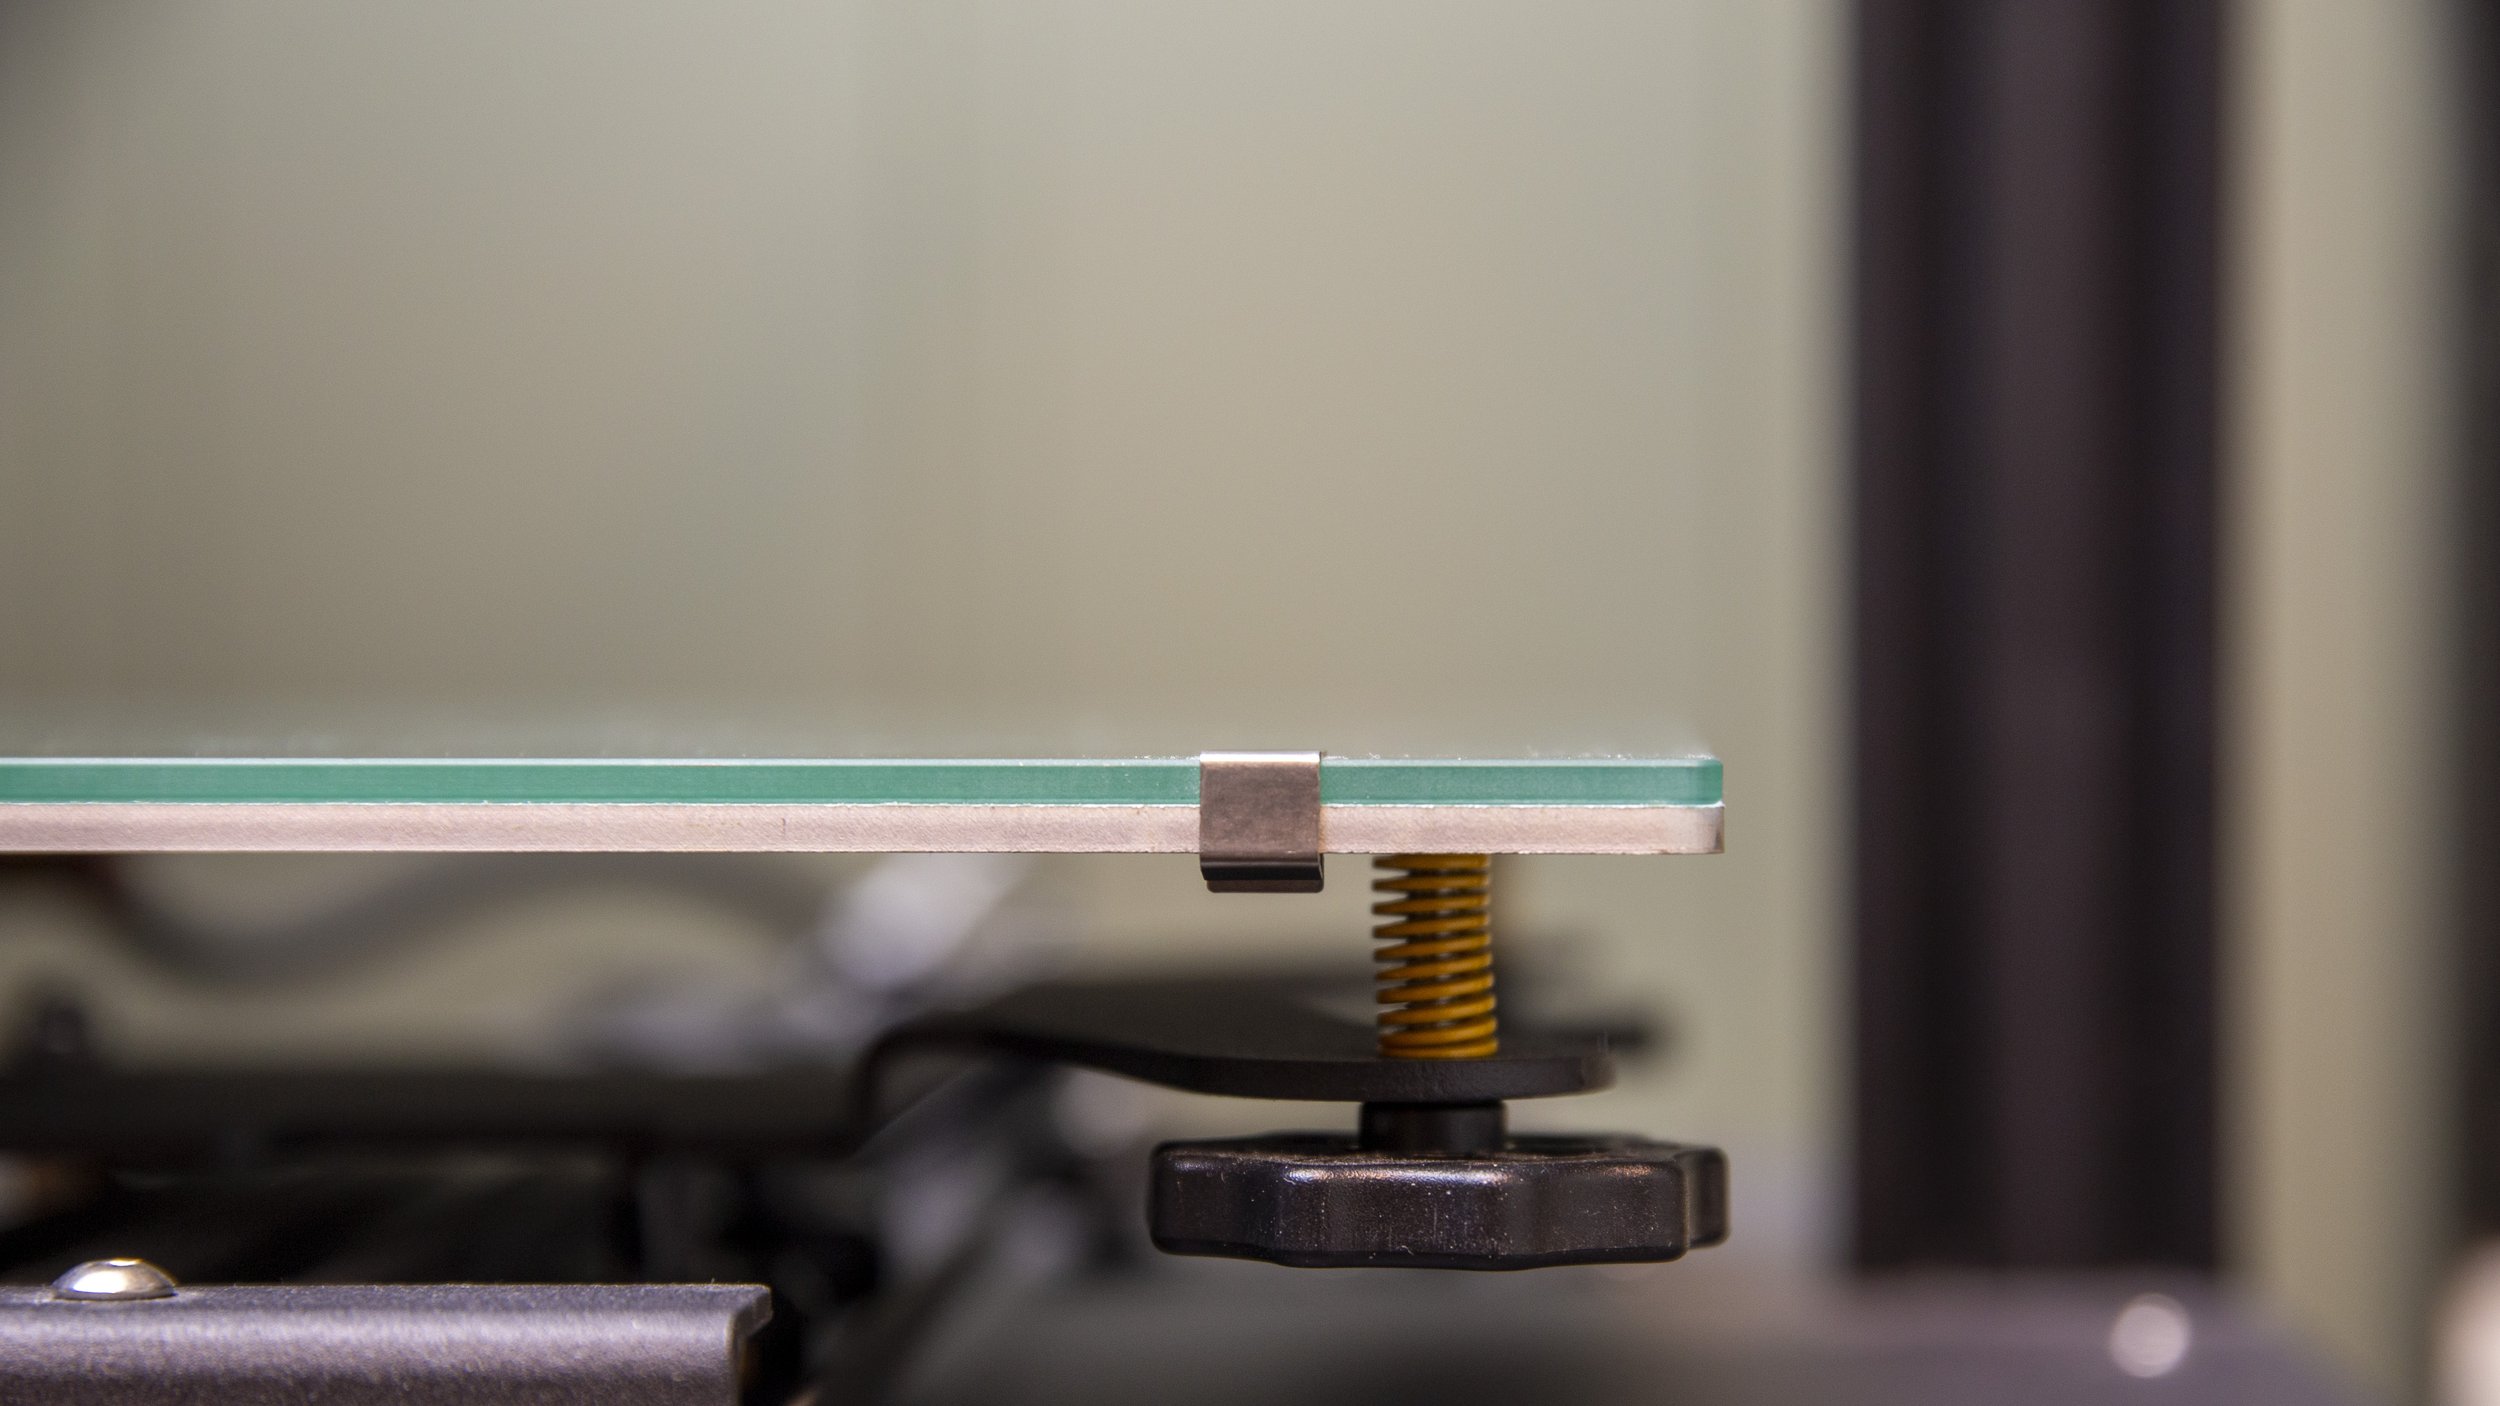
How to 3D Print on glass build plates
3D Printers often come with glass build plates that can be fantastic or terrible to print on. Here’s what you need to know to get a good print on a glass surface.
Why do 3D Printers use glass build plates in the first place?
Tons of budget printers try to save on cost of components and manufacturing. Creating a large flat surface for your print to adhere on can be tricky when you’re on a budget.
Glass is very cheap, even hardened or “fancy” glass that some printers use. At least when you compare to machining an aluminium plate. The glass is also very flat.
Most manufacturers nowadays actually hide the glass build plate under some sheet of BuildTak or similar, and although it might work really nice, have you ever tried to actually replace that surface? It’s a mess.
Printing on glass build plates provides a few benefits
As mentioned, the glass itself is extremely flat, which helps with dimensional accuracy and first-layer adhesion. Heck, even levelling is easier when the surface is flat.
Glass (depending on your type) is often perfectly smooth, which gives a great surface on your print. This smoothness can also be a bit tricky when you don’t get it right, more about that later.
Glass is very easy to clean with soap and water, or alcohol. Many printing surfaces require special routines to clean, and can be sensitive to alcohol or grease from fingers and machine parts.
Most prints just pop off the glass after a print, thanks to the smooth surface. This happens when the part itself cools down.
Getting the best results when printing
A heated bed makes all the difference for glass build plates. It makes your filament sticky and when combined with glue or hairspray it makes for a perfect combo.
Hairspray is easier to apply but is actually a bit risky if you spray it into your machine.
Try to apply it away from your printer as the spray also sticks to other components, that can be much more tricky to clean.
Getting hairspray on your filament is a terrible idea for example, as it will stick dust and particles much easier.
Regular "office supply” gluestick also work for most types of easier materials and comes standard in the box with both cheap and expensive 3D Printers.
Remember to reapply adhesions!
it should be noted that these sprays and glue needs to be re-applied ever so often.
For some materials, every time! Therefor it’s a good idea to switch up where you print, so you don’t always wear out the center of your plate.
It’s easy to see when you need to apply new glue or hairspray. You’ll see the matte finnish worn of where your print was if you have a smooth glass.
Worth mentioning is that some prints gets sticky when you remove them, Just rinse in luke water and the glue or hairspray should wash away.
Dedicated adhesion products
A lot of companies sell particular adhesion products that promise much better result for printing on glass, but many of those are actually rebranded cheap hairsprays or glue.
There are of course products that can help for certain types of materials such as PA12/Nylon or wood/metal filament.
If you think you need those products, I suggest you try cleaning your bed and applying your own hairspray first, and turn up the temperature a bit.
How to maintain a glass build plate
Keeping your glass build plate in good shape is super simple!
Just clean it with water and soap when needed. Then dry it off with microfiber (or fancy paper) to avoid getting fibers on it.
You should clean the build plate before you re-apply hairspray or glue. You can of course get away with just spraying or gluing on extra glue if your lazy, but only a few times.
If you’ve left your 3D printer alone for a few weeks, you probably have a buildup of dust on it, and you should clean it (or just do it the lazy way) before starting a new print.
Nothing works on a dusty glass print bed!
What type of glass should you use?
If you don’t have a glass plate already or want to get a new/better one, there are a few things to consider.
Borosilicate glass are the best type of glass to use. Soda-lime silicate or phosphates are both options, but not good ones. They have lower thermal shock resistance and can actually crack or even explode in rare situations.
Since the glass is heated and cooled of, it get thermally stressed, therefor you need special glass on printers. Some DIY-enthusiast recommend DIY-glass build plates for as low as $1, but those might work in the short run (unless they are actually thermal shock resistant)
Depending on your printer, you can just search “borosilicate glass” and your printer name to get it.
Here is an option for popular 3D printers.


